AI Content Generator
Extension Installation
For Magento Marketplace Customers
-
Find the Composer name and version of the extension in the extension's composer.json file.
-
Login to your SSH and run:
- composer require mavenbird/magento-2-ai-content-generator
- Wait for Composer to finish updating your project dependencies and make sure there aren't any errors.
-
To verify that the extension installed properly, run the command:
- php bin/magento module:status Mavenbird_AiContentGenerator
- By default, the extension is probably disabled.
- Enable the extension and clear static view files:
- php bin/magento module:enable Mavenbird_AiContentGenerator --clear-static-content
- php bin/magento setup:upgrade
- For Magento version 2.0.x to 2.1.x - php bin/magento setup:static-content:deploy
- For Magento version 2.2.x & above - php bin/magento setup:static-content:deploy --f
- php bin/magento cache:flush
For Mavenbird Customers
- Extract the zip folder and upload our extension to the root of your Magento 2 directory via FTP.
- Login to your SSH and run below commands step by step:
- php bin/magento setup:upgrade
- For Magento version 2.0.x to 2.1.x - php bin/magento setup:static-content:deploy
- For Magento version 2.2.x & above - php bin/magento setup:static-content:deploy --force
- php bin/magento cache:flush
Configuration
- To configure the AI Content Generator extension:
- Log in to the Magento Backend.
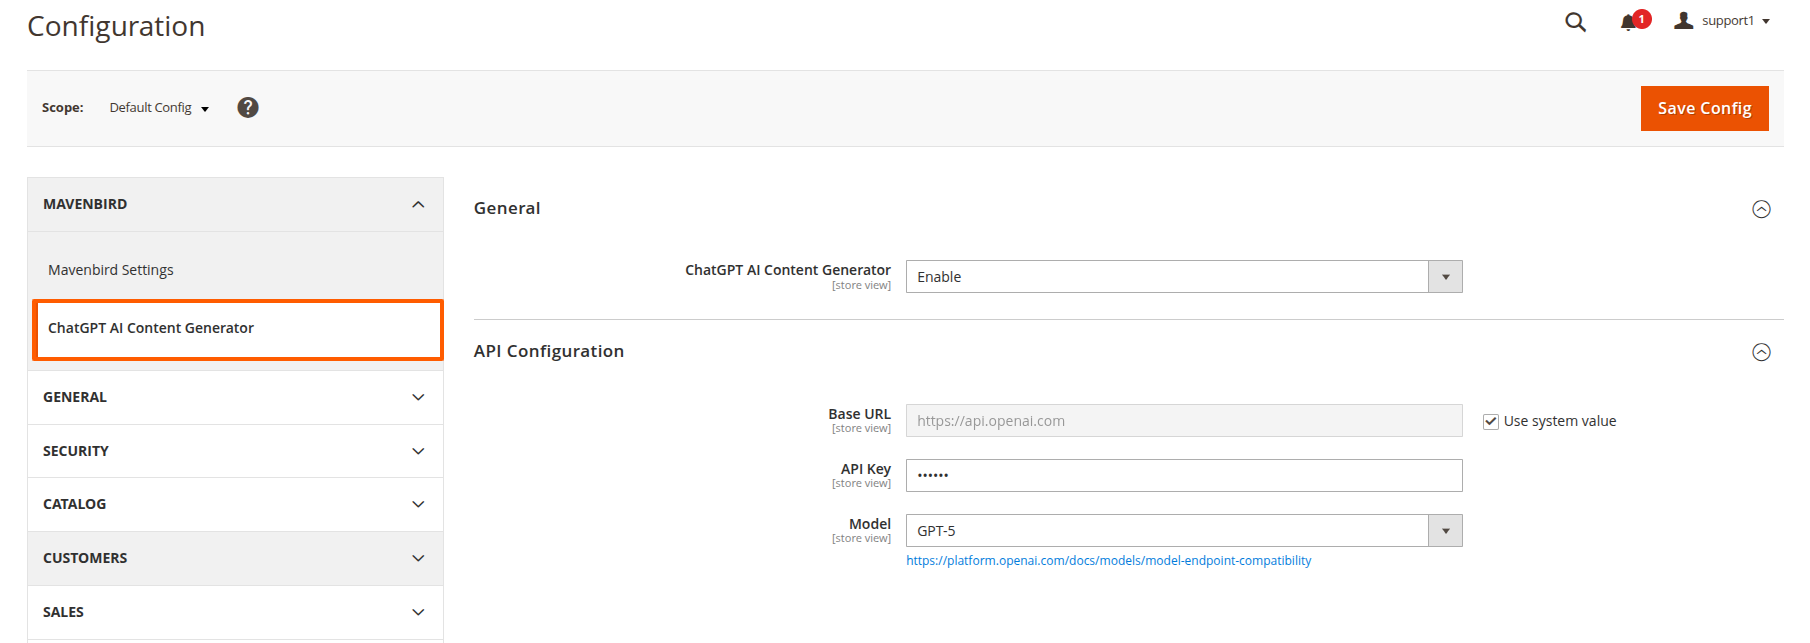
- Go to Stores > Configuration.
- Under the General tab, select AI Content Generator.
- Here, you can configure the following settings:
- Enable AI Content Generator: Enable and Disable the AI Content Generator extension.
- Base URL: Enter the base URL for API requests.
- GPT API Key: Enter the API key for your desired GPT version that you received when registering with OpenAI.
- Model: Select the GPT model to use for content generation.
Product Settings
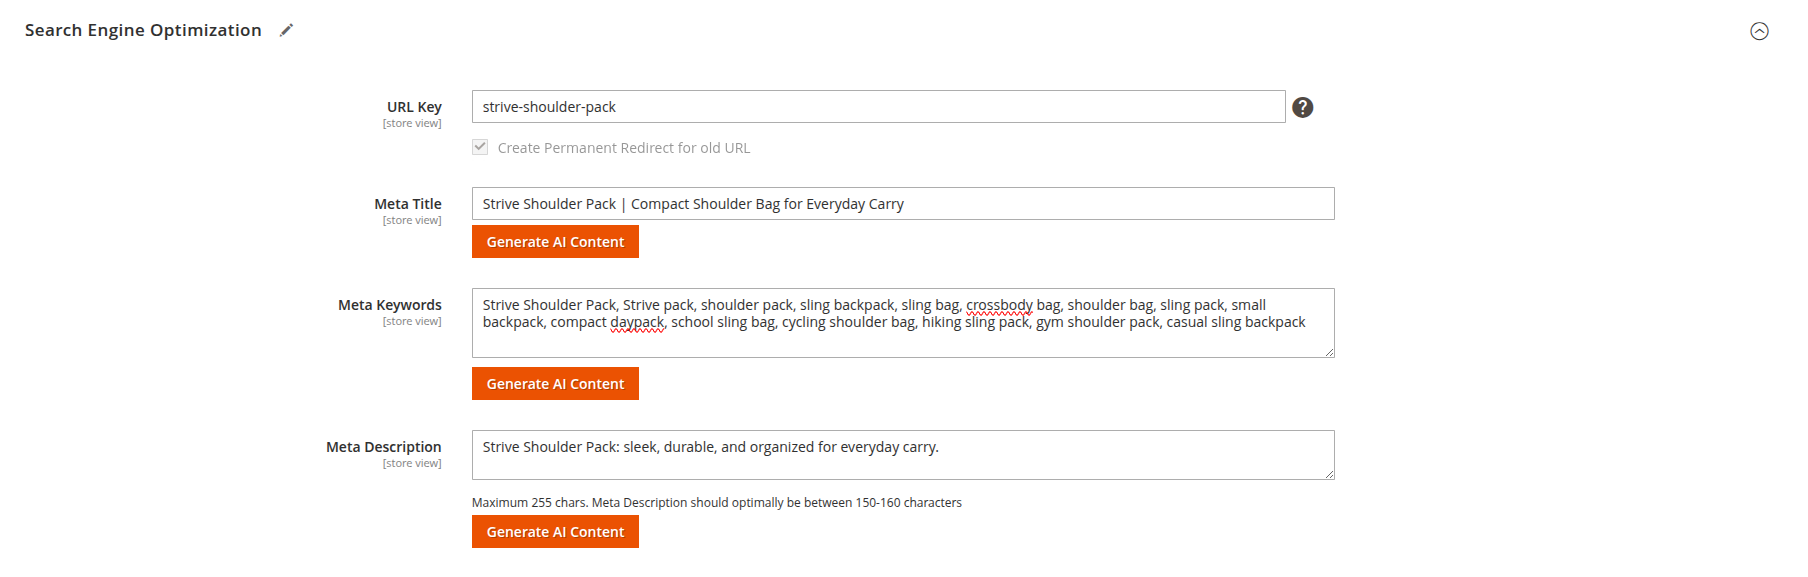
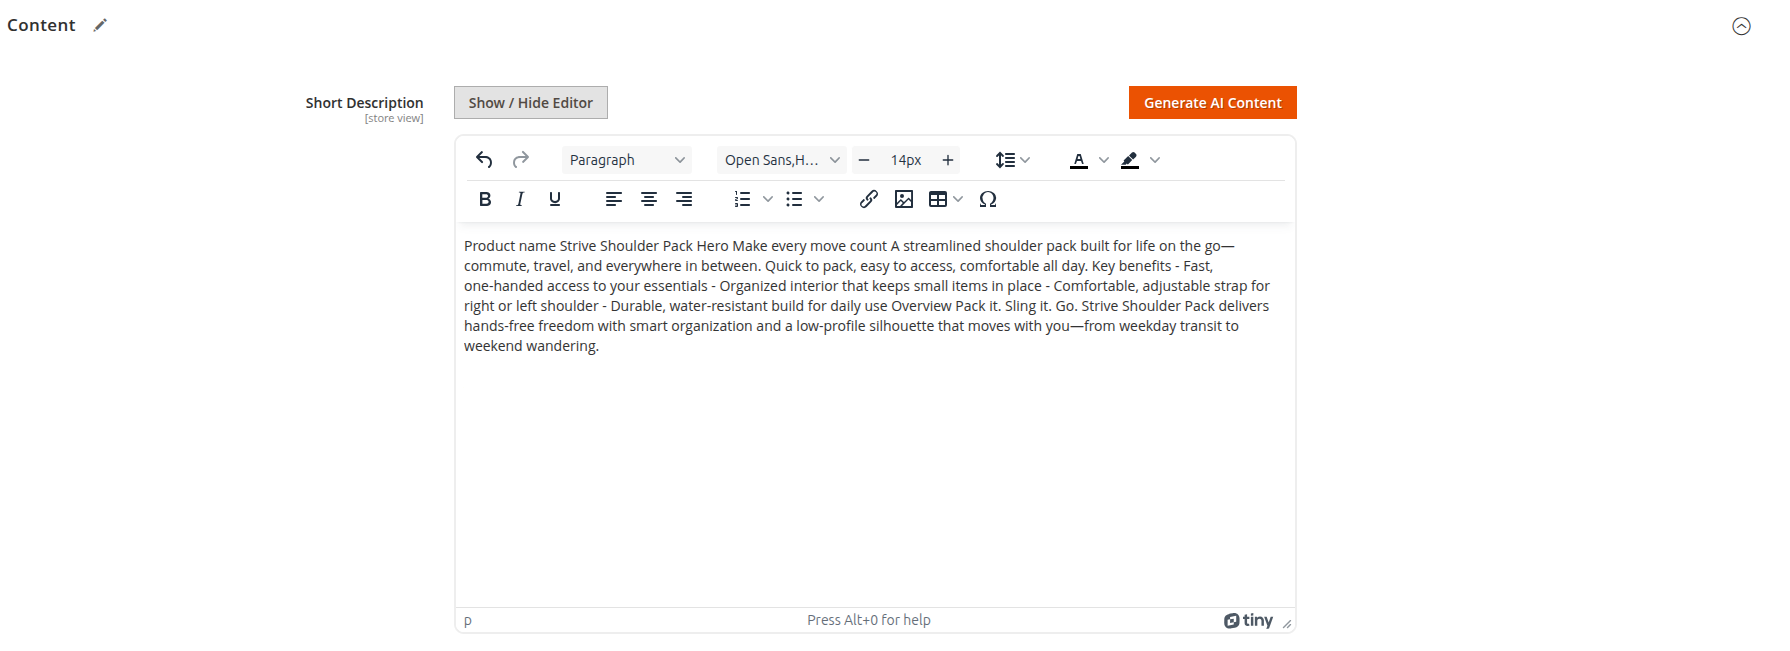
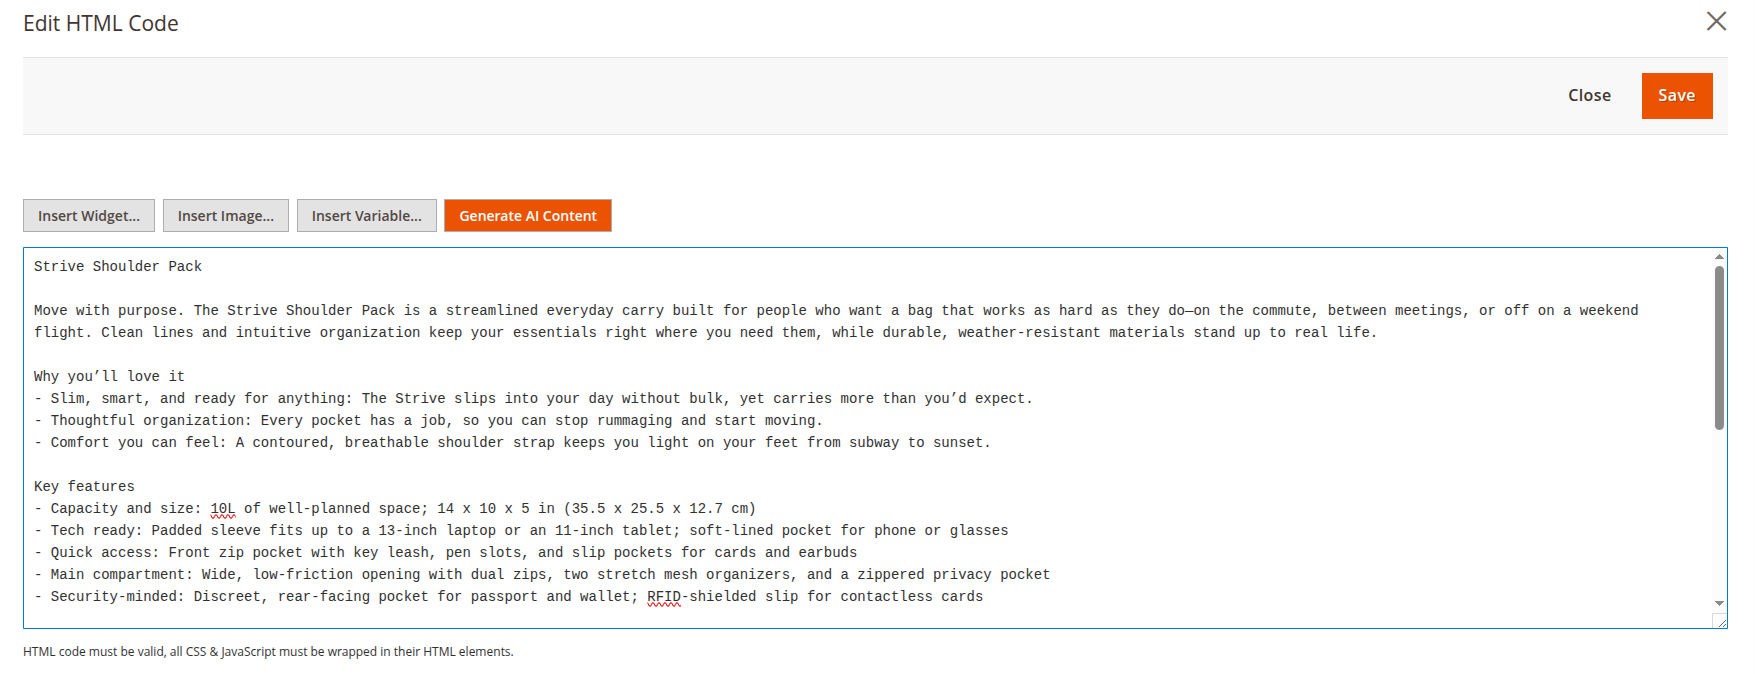
- The AI Content Generator can automatically generate content for various fields in your product pages. You can configure the fields for which AI content should be generated:
- Meta Title: AI will generate content for this field.
- Meta Description: AI will generate content for this field.
- Meta Keywords: AI will generate content for this field.
- Short Description: AI will generate content for this field.
- Long Description: AI will generate content for this field.
- These fields will be automatically filled with optimized content based on the product details.
note
- You can access and configure these fields by navigating to the product management section in your admin dashboard.
- Open any product page and look for the "SEO" or "Descriptions" tab/section, where you will find Meta Title, Meta Description, Meta Keywords, Short Description, and Long Description fields.
Mass Action
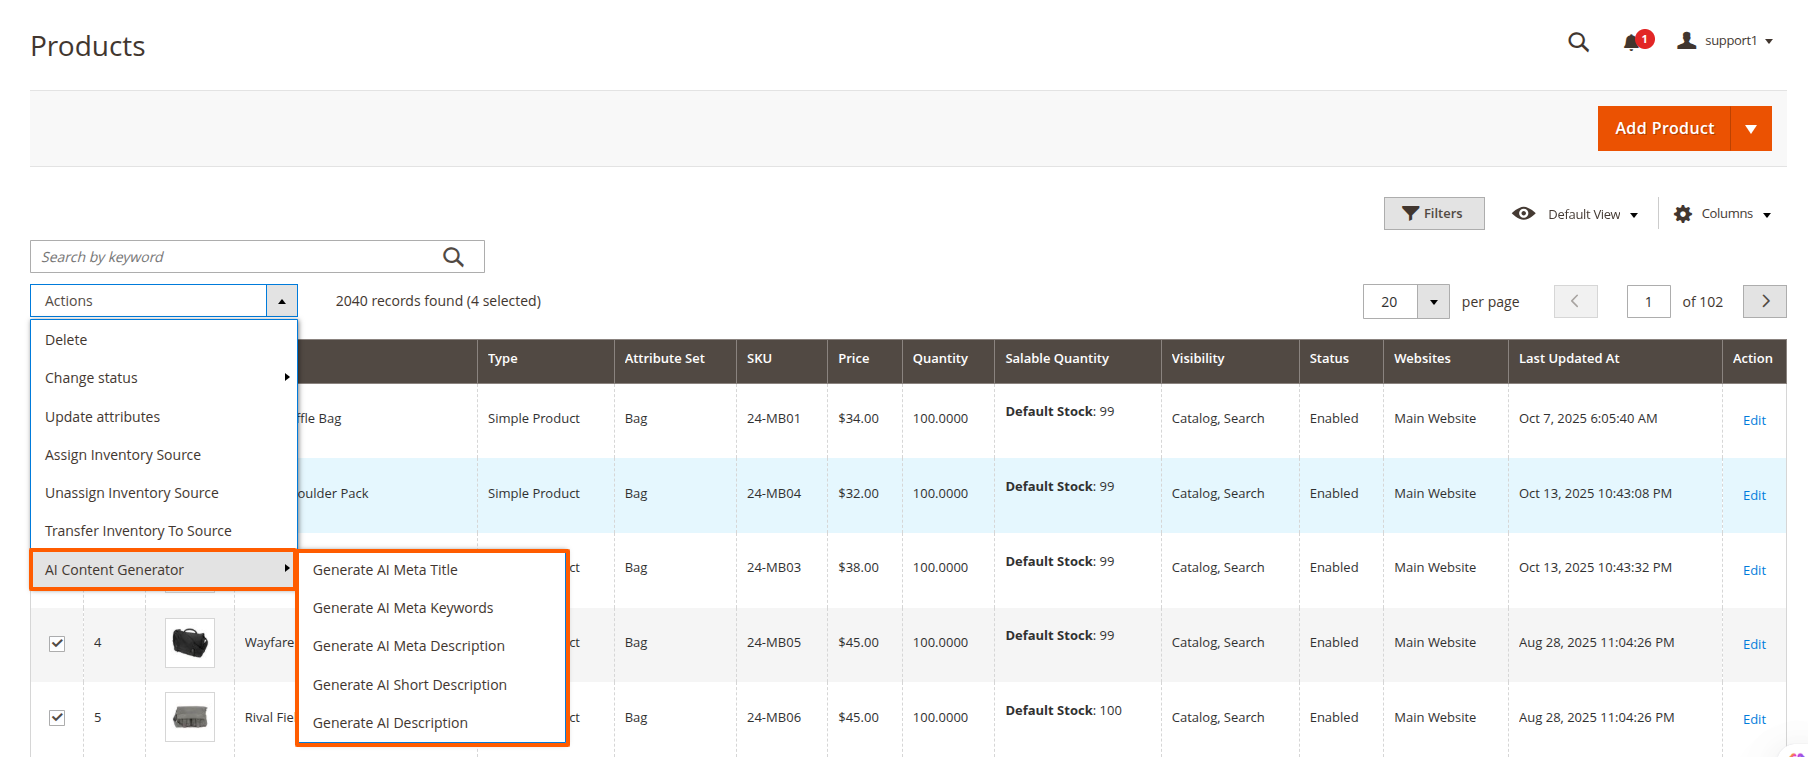
- The AI Content Generator now includes a Mass Action feature that allows you to generate AI-powered content for multiple products at once. This is especially useful for bulk editing your product content and saving time.
- How to Use Mass Action:
- Navigate to Catalog > Products in the Magento Admin Panel.
- Select the products for which you want to generate AI content by ticking the checkboxes next to each product.
- From the Actions dropdown at the top of the page, choose Generate AI Content.
- Click Submit to begin the mass content generation process.
- The selected products will be processed, and their Meta Title, Meta Description, Meta Keywords, Short Description, and Long Description fields will be filled automatically with AI-generated content.
note
- Ensure that your GPT API key is properly configured in Stores > Configuration > AI Content Generator before using this feature.