Magento 2 Orders and Returns Widget
August 16, 2023
- 2 min read
The Orders and Returns widget supports the shoppers check the status of orders, print invoices and track shipments. When you allow this widget running into your store, it is only displayed for shoppers and for clients who aren’t logged into their accounts. By adding the Order ID, Billing Last Name, the Email address or ZIP Code, shoppers can find their orders easily.
To use orders and returns widget in Magento 2
Step 1: Choose Email address or Zip Code to find the order
Step 2: Find the order
- Enter the Order ID and Billing Last Name.
- Then enter the billing Email Address or ZIP Code that is related to the order.
- Click
Searchto find the order

How to install the orders and returns widget in Magento 2
Step 1: Access to Configuration
- From the
Admin sidebar, clickContent. BelowElements, selectWidgets - Click
Add Widgetbutton
Step 2: Configuration
Follow the instructions below:
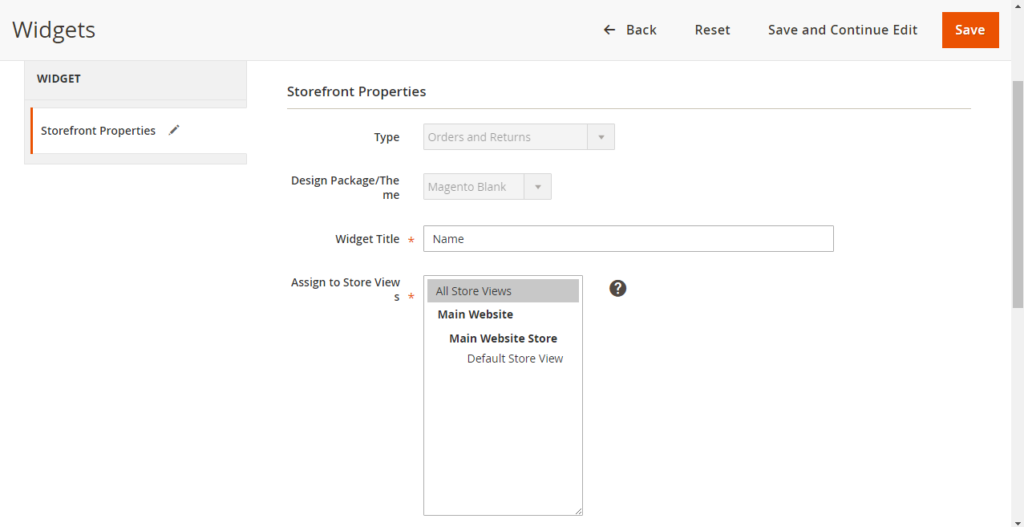
- Choose
Typeto “Orders and Returns” - Select the
Design Themewhich is used by the store - Click
Continue - In the Storefront Properties section:
- Widget Title: This is the description for your widget. This title is visible only from the Admin
- Assign to Store Views : Choose the website views. There are two options that you can choose:
All Store ViewsorSpecific store view. - Sort Order: (Optional) Enter the number to specify the relative order of this item when it displays with other content in the same section of the page ( 0 = first, 1 = second, 3 = third and so on)

- In the Layout Updates section, click
Add Layout Updateand do the following:- Install Display On to the type of page where the widget is to display.
- Accomplish the rest of the layout update information to specify where the widget is to display on the page.

Step 3. Complete the changes
Click Save to complete the changes. When suggested, remember to refresh each invalid cache
Comment(s)


Please complete your information below to login.