How to change Invoice, Order PDF template in Magento 2
Changing Invoice, Order PDF template in Magento 2 is not easy now. To start a Magento 2 website, you may need to change the Invoice, Order, Credit Memo, Shipment PDF design (template) such as Logo, Company name, phone, email and more. However, to update Invoice, Order PDF template you have to understand deeply in technical field. Moreover, you have to understand how Zend PDF work. That is really hard to work with.
Mavenbird knows It’s important to have an invoice in any business, and they play a crucial role in managing order details and workflow. Mavenbird PDF Invoice extension lets the admin customize and redesign invoices for a better brand image.
This PDF Invoice module for Magento 2 helps template creation in a few steps. With the drag and drop method, you can add your own CSS to redesign your template. In addition, you can download invoices in the form of PDF’s.
Changing Invoice, Order in Magento 2
To chang Invoice in Magento 2:
Step 1: Add a new Template
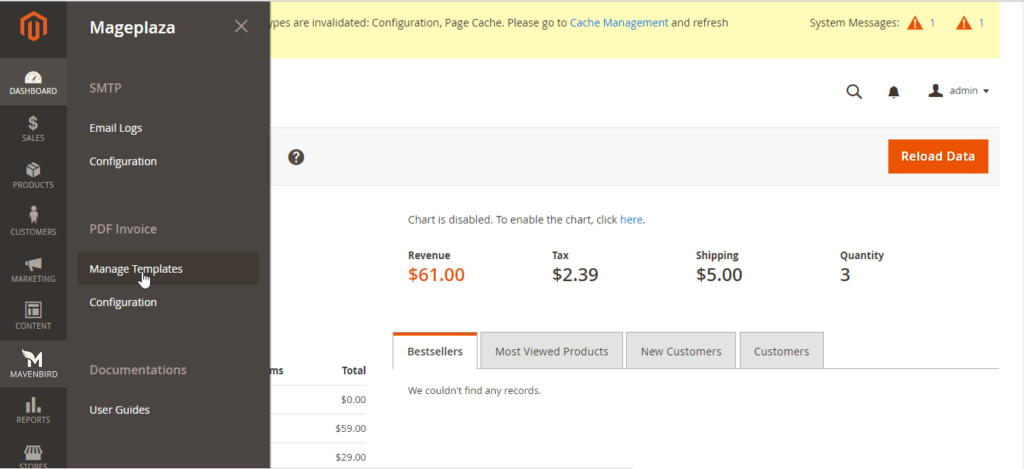
From the Admin Panel, go to Mavenbird > PDF Invoice > Manage Templates
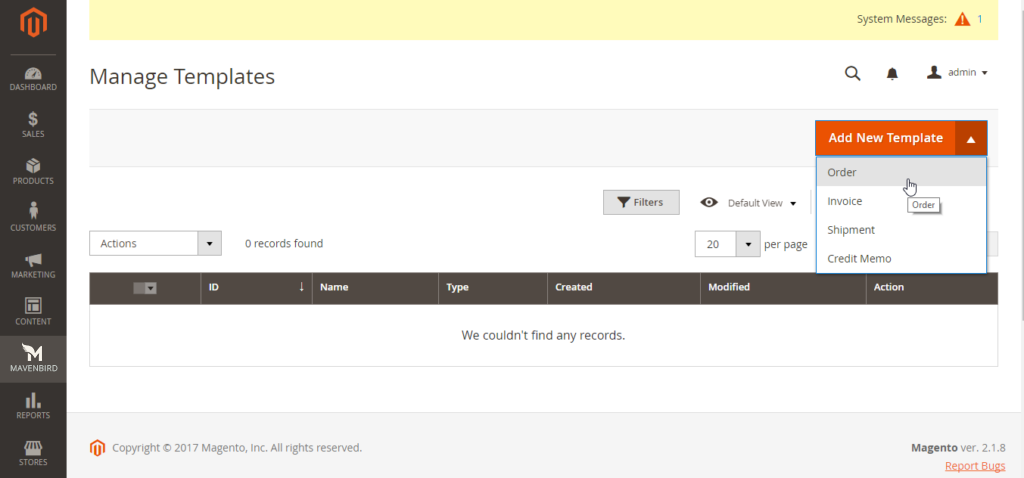
Click Add New Template Order button and choose the kind of template you want to generate. There will be 4 kinds of template corresponds to 4 kinds of PDF file:
- Order
- Invoice
- Shipment
- Credit Memo
You’re able to freely design template in your own style of use available template in the extension’s configuration.
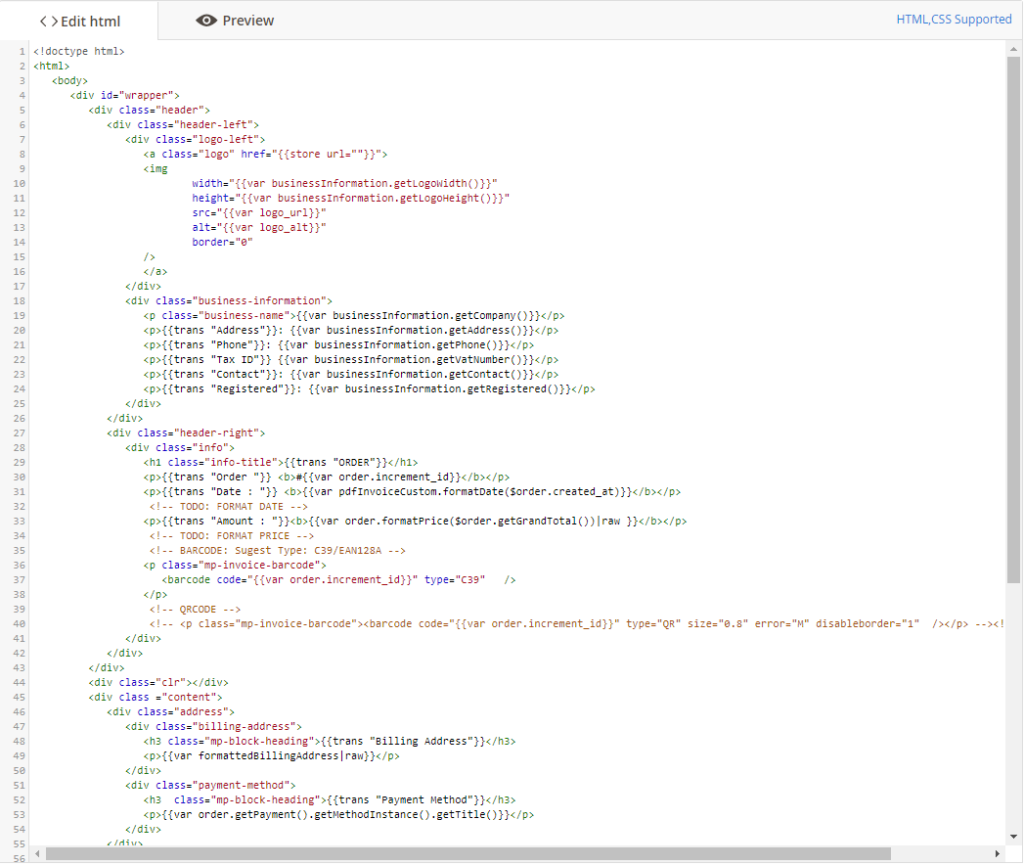
For example, if you choose to create an Order template , the design form will appear like this below image:
- In Load default template field:
- Template
- You can choose one of available templates. After having it done, the chosen template will show up right your left side to be previewed.
- If you don’t choose a template form, the default template will be
Template = Template 1.
- Load Template: The selected template’s code will be displayed automatically in the below HTML box.
- Template
- In Template Information field:
- Currently Used for: Click the PDF Invoice link to direct to the configuration section.
- Template Name
- This is the place where you name your own template.
- If you leave it blank, there will be an error message.
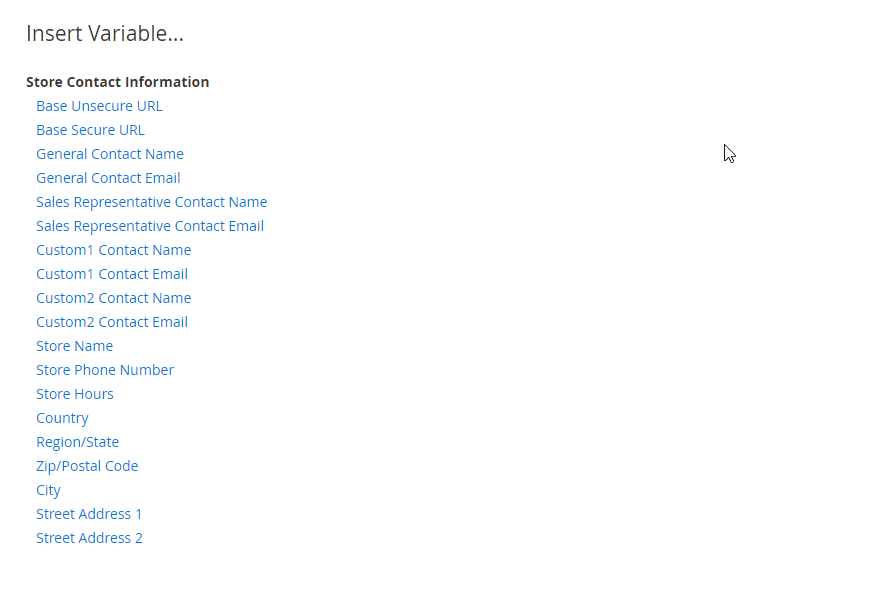
- Insert Variables: Choose a variable to display the value of that variable in the PDF file.
Step 2: Custom design & company information
Keep going from Mavenbird > PDF Invoice: Configuration > General Configuration, expand the section
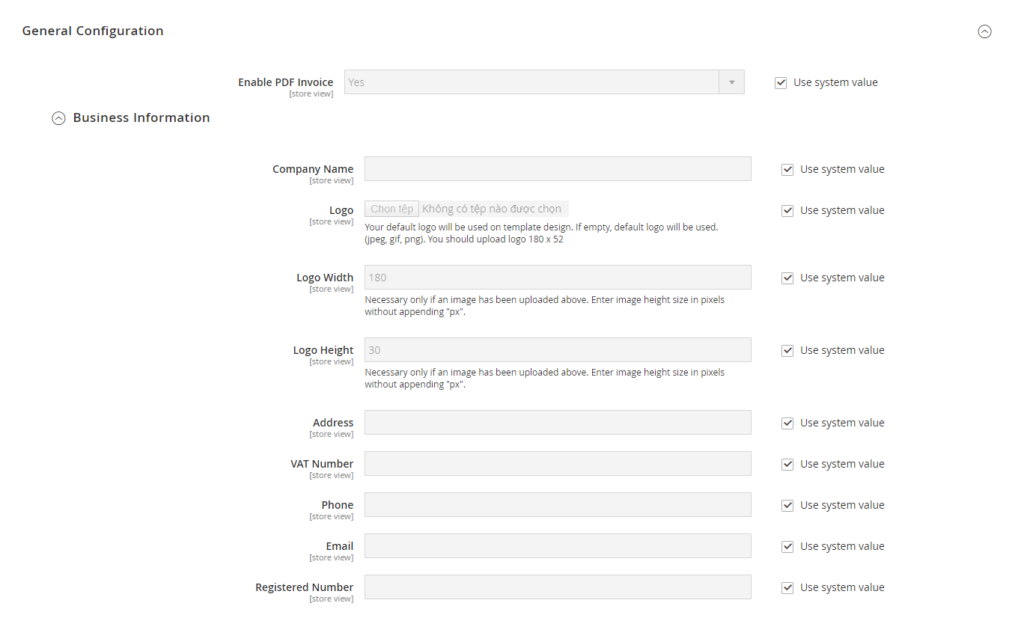
- Expand Business Information field:
- In Company Name field:
- Enter your company/store name, it will be displayed in your PDF invoice.
- If you leave it blank, the Company Name place won’t have a name.
- Check Use system value to use it as default.
- In Logo field:
- Select your logo file displayed on the PDF file.
- Only image/video file can be valid; otherwise, there will be an error message.
- If you leave it blank, the default logo will be displayed.
- Check Use system value to use it as default.
- In Logo Width field:
- Select the size for your logo (pixel)
- If you leave it blank, defaul width is 180px
- Check Use system value to use 180px as default logo width.
- In Logo Height field:
- Select the size for your logo (pixel)
- If you leave it blank, defaul width is 30px
- Check Use system value to use 30px as default logo width.
- In Address field:
- This is the place where you can fill in your company/store’s address, this will be displayed in the PDF invoice file.
- If you leave it blank, address information won’t be seen.
- Check Use system value to use it as default.
- In VAT number field:
- Enter your company/store’s VAT number to perform it on the PDF file.
- There won’t be VAT number displayed if you leave it blank.
- Check Use system value to use it as default.
- In Phone field:
- Enter your company/store’s phone numbers.
- If you leave it blank, phone numbers won’t be seen.
- Check Use system value to use it as default.
- In Email field:
- Enter your company/store’s official email address.
- There won’t be email displayed if you leave it blank.
- Check Use system value to use it as default.
- In Registered Number field:
- Enter your company/store’s business number in this field.
- If you leave it blank, PDF invoice file won’t display it.
- Check Use system value to use it as default.
- In Company Name field:
Step 3: Preview
- Edit HTML: This section allows you generate a unique PDF form by your own idea.
- Preview: After editing the PDF form, click here to have an overview glance again.
- Link CSS: This will direct you to a detail CSS support guide that how to learn to design by CSS properly.
- Link HTML Support: Click it to direct to a detail HTML support guide which points out what HTML tags you can use to create a template.
- Template Style: You can add CSS codes at here.

Step 4: Print a test Invoice
Let’s print PDF invoice, order, credit memo, shipment. Remember, you can add Barcode or QRcode in the invoices. So you should test these too


Please complete your information below to login.