How to Flush, Enable, Disable Cache Command Line in Magento 2
How to Flush the Cache via Command Line in Magento 2 is one of the top concerns when managing a Magento store. Magento 2 includes 12 cache types by default, which can significantly enhance your site's speed by storing data for quicker future access. In this guide, you will learn step-by-step how to manage cache using five simple commands.
What are Magento 2 Caches? Why Should You Flush Cache?
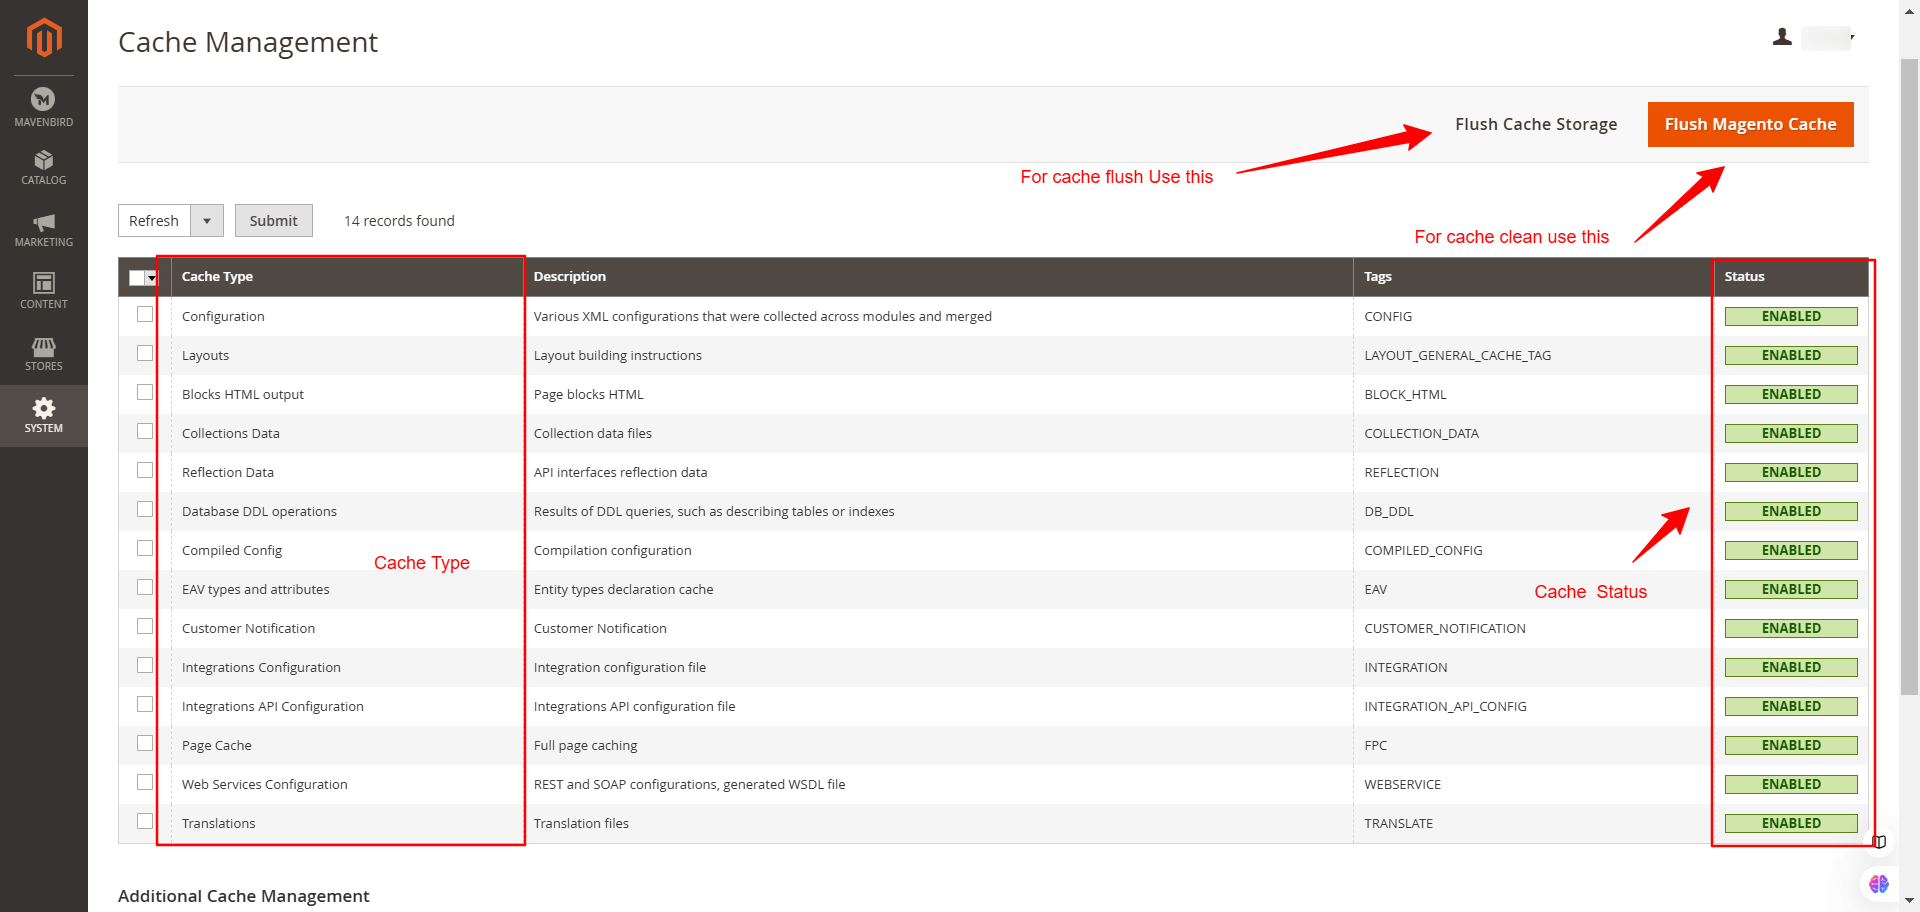
Magento 2 caches store data to improve the site's performance and reduce load times. The cache types include:
- Configuration
- Layout
- DDL
- Collections Data
- Block HTML Output
- Compiled Config
- Page Cache
- Reflection
- Entity Attribute Value
- Translation
- Customer Notification
- Integration Configuration, Integration API, and Web Services Configuration
Whenever you make changes to your store, it is essential to refresh the caches to reflect those updates on the frontend. If needed, Magento will display a yellow notice prompting you to refresh the cache via the Cache Management page, as shown below:

How to Flush Magento 2 Cache
- Navigate to the Magento root directory.
- Use the following command to clean specific cache types: php bin/magento cache:clean
- Short command: php bin/magento c:c
- To flush all Magento cache storage: php bin/magento cache:flush
- Short command: php bin/magento c:f
- Once complete, visit your Magento store and verify the results.
How to Change Current Directory
Depending on your operating system, use the following commands to navigate to the Magento root directory:
- Ubuntu: cd /var/www/magento2
- CentOS: cd /var/www/html/magento2
- Windows: cd /d/xampp/htdocs/magento2
For Windows, this example assumes Xampp is installed on the D drive.
Checking Cache Status
To check the current cache status, use:
- Command: php bin/magento cache:status
Sample Output:
Current status:
    config: 1
    layout: 1
    block_html: 1
    collections: 1
    reflection: 1
    db_ddl: 1
    eav: 1
    config_integration: 1
    config_integration_api: 1
    full_page: 1
    translate: 1
    config_webservice: 1
Disabling and Enabling Cache Types
- To disable all cache types, use: php bin/magento cache:disable
- To disable a specific cache type, use: php bin/magento cache:disable CACHE_TYPE
- Example: php bin/magento cache:disable config
- To enable all cache types, use: php bin/magento cache:enable
- To enable a specific cache type, use: php bin/magento cache:enable CACHE_TYPE
- Example: php bin/magento cache:enable layout
How to Clear Cache Programmatically
To clear the cache programmatically, add the following code to your Helper class:
<?php
use Magento\Framework\App\PageCache\Version;
use Magento\Framework\App\Cache\TypeListInterface;
use Magento\Framework\App\Cache\Frontend\Pool;

protected $cacheTypeList;
protected $cacheFrontendPool;

public function __construct(
    TypeListInterface $cacheTypeList,
    Pool $cacheFrontendPool
) {
    $this->cacheTypeList = $cacheTypeList;
    $this->cacheFrontendPool = $cacheFrontendPool;
}

public function flushCache(Version $subject) {
    $_types = [
        'config',
        'layout',
        'block_html',
        'collections',
        'reflection',
        'db_ddl',
        'eav',
        'config_integration',
        'config_integration_api',
        'full_page',
        'translate',
        'config_webservice'
    ];

    foreach ($_types as $type) {
        $this->cacheTypeList->cleanType($type);
    }
    foreach ($this->cacheFrontendPool as $cacheFrontend) {
        $cacheFrontend->getBackend()->clean();
    }
}
Call the flushCache() function in your controller or model as needed.
Conclusion
Proper cache management in Magento 2 is crucial for maintaining optimal performance and ensuring that changes made in the admin panel are reflected on the frontend. Use these commands to flush, enable, or disable caches efficiently. Additionally, programmatic cache clearing can be implemented for specific development needs. If you encounter any issues, feel free to contact us for assistance.


Please complete your information below to login.