
Magento 2 allows merchants to create various types of products, including Virtual Products. Virtual Products are intangible items, such as services, memberships, or downloadable content. In this guide, we will show you how to create Virtual Products step-by-step in Magento 2.
What is a Virtual Product?
A Virtual Product is a product type in Magento 2 that doesn’t require shipping. This is ideal for services, warranties, subscriptions, or online content that customers can access without physical delivery.
Steps to Create a Virtual Product in Magento 2
Step 1: Navigate to the Products Page
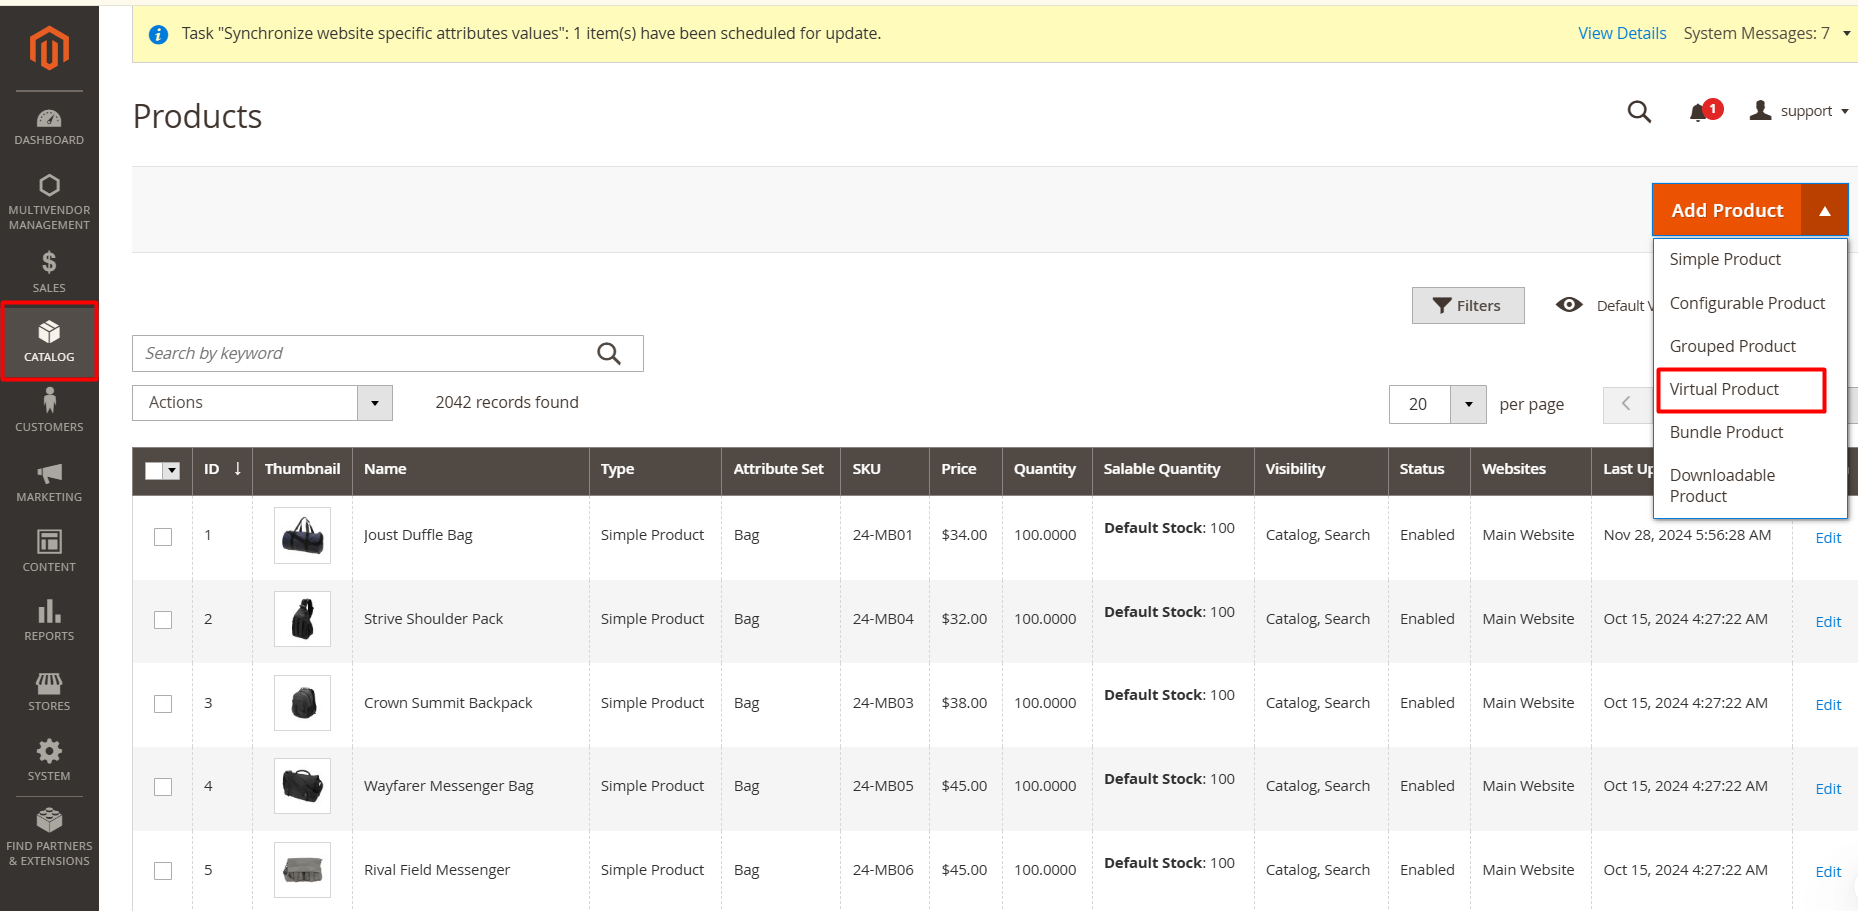
To begin creating a Virtual Product, follow these steps:
- Log in to your Magento 2 Admin Panel.
- Go to Catalog > Products.
- Click the Add Product button and select Virtual Product from the dropdown.
Step 2: Enter Product Details
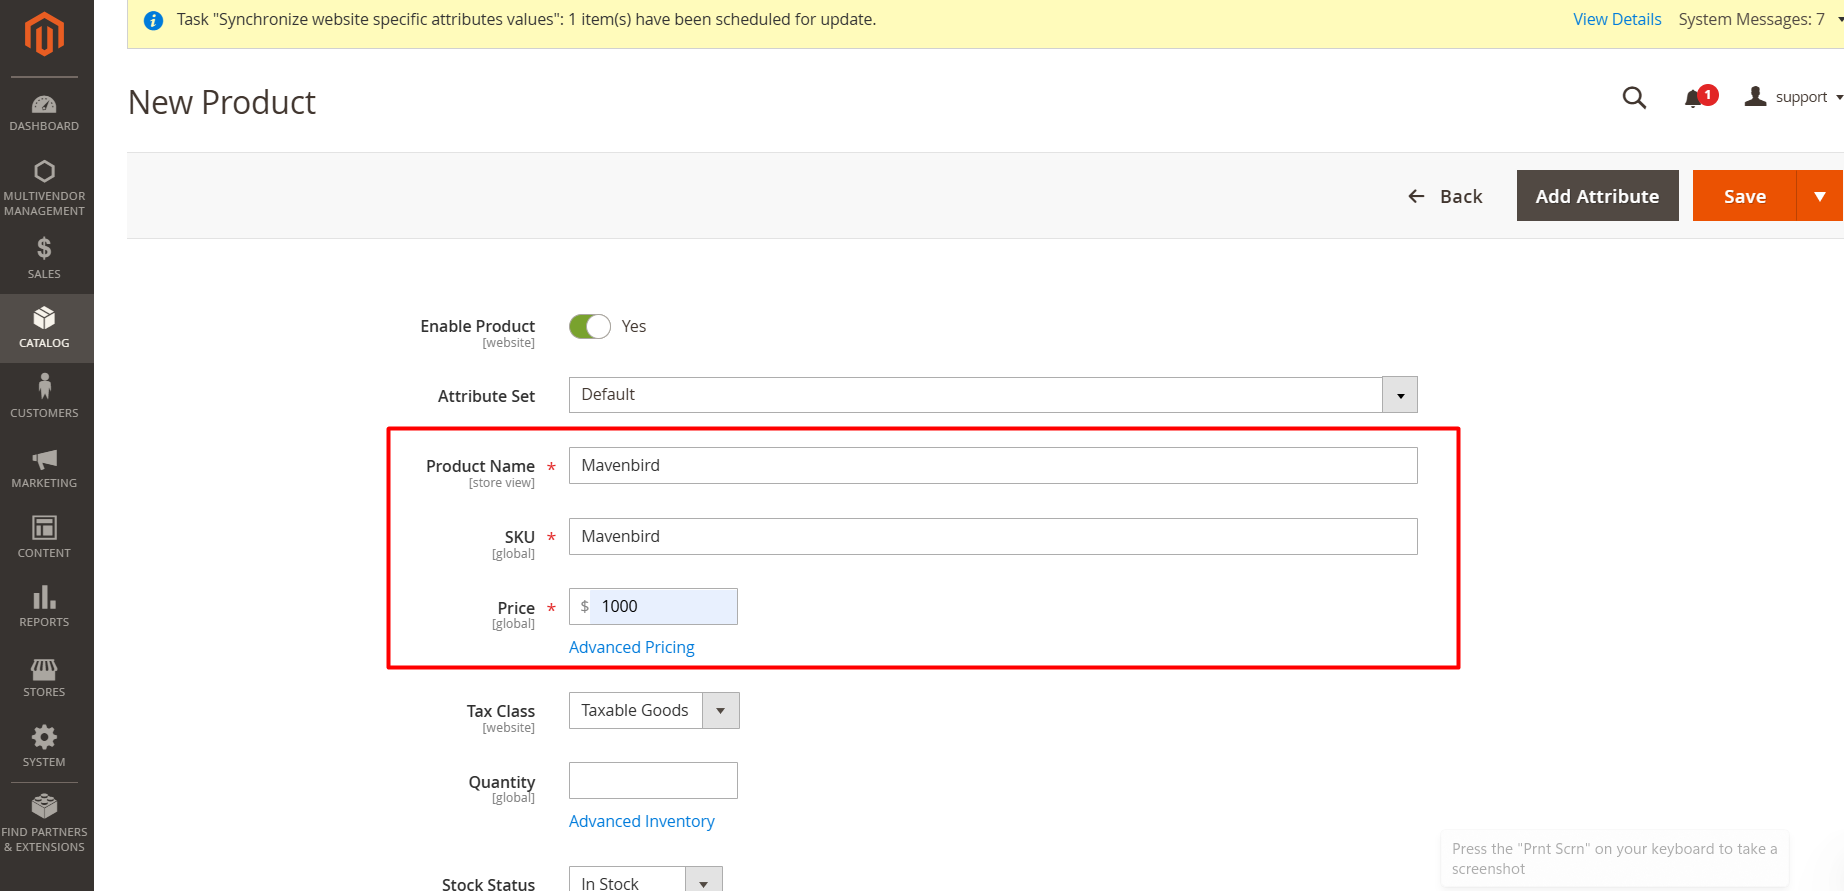
On the new product page, enter the following details:
- Product Name: Enter a name for the Virtual Product (e.g., "Online Course Subscription").
- SKU: Specify a unique SKU for the product.
- Price: Set the price for the Virtual Product.
Step 3: Configure Product Settings
Scroll down to configure additional product settings:
- Tax Class: Select the appropriate tax class (e.g., Taxable Goods or None).
- Quantity: Enter the available quantity for the product.
- Stock Status: Set the stock status to "In Stock."
Since Virtual Products do not require shipping, fields like weight and shipping options are not applicable.
Step 4: Add Product Descriptions
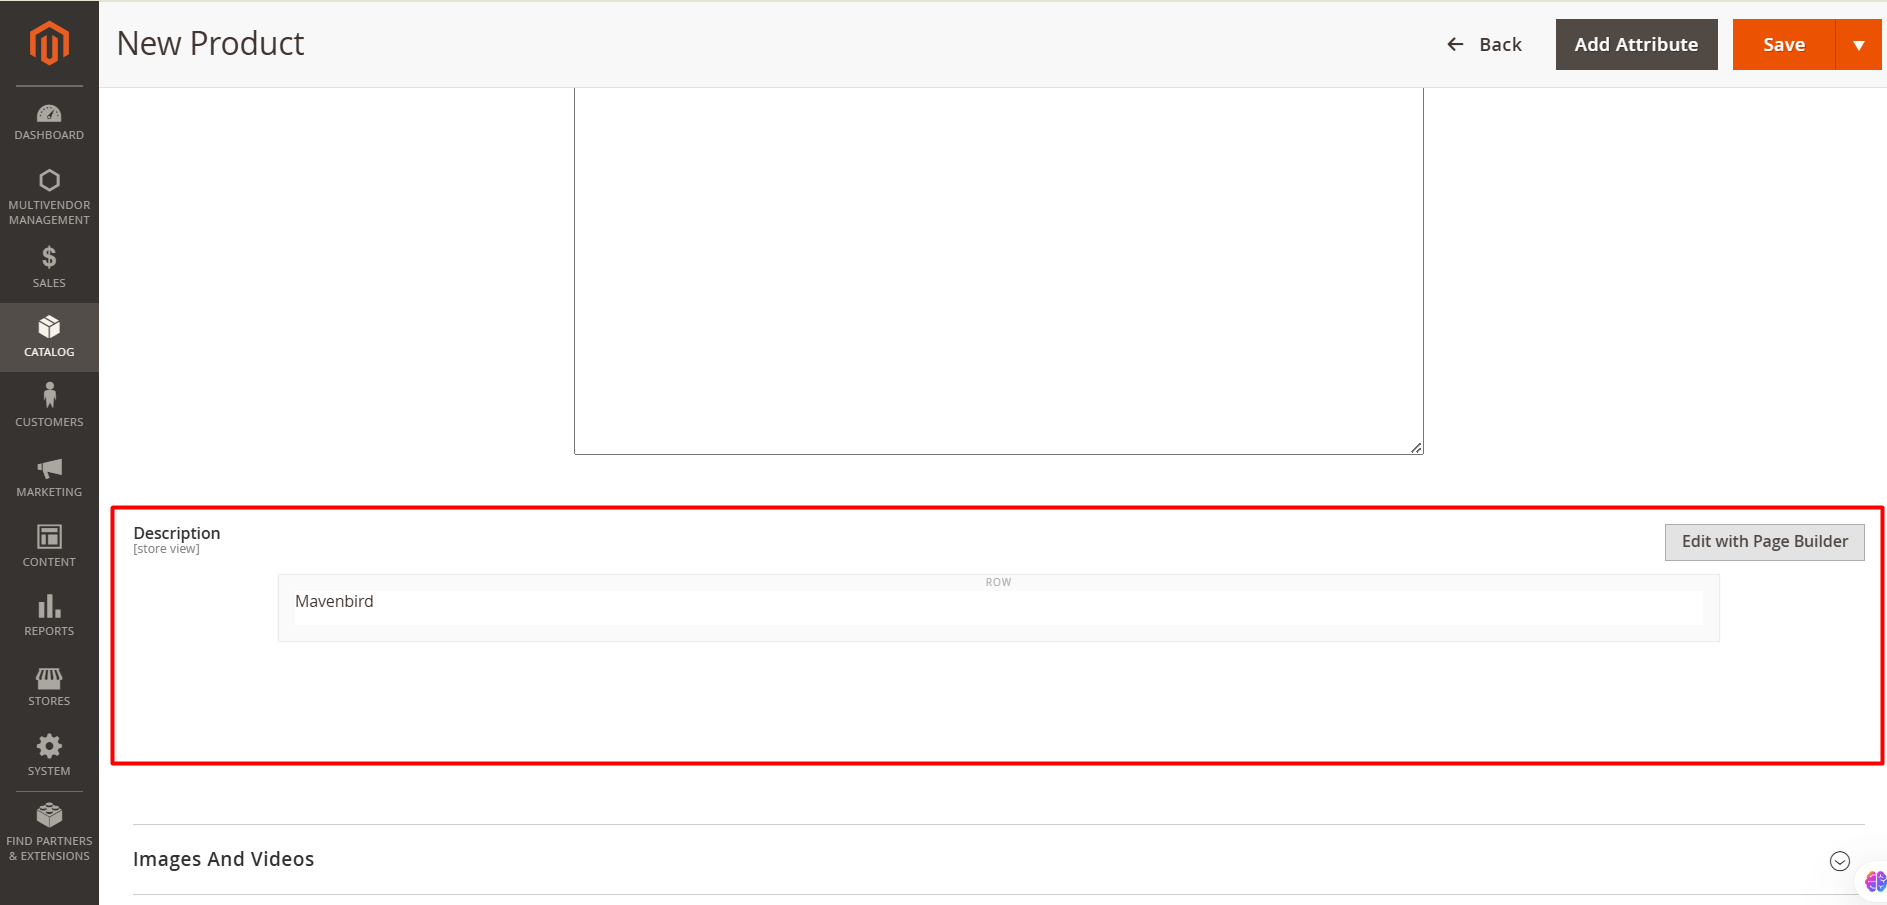
Provide a detailed description to help customers understand the product:
- Description: Enter a detailed description for the Virtual Product.
- Short Description: Provide a concise summary of the product.
Step 5: Assign Categories
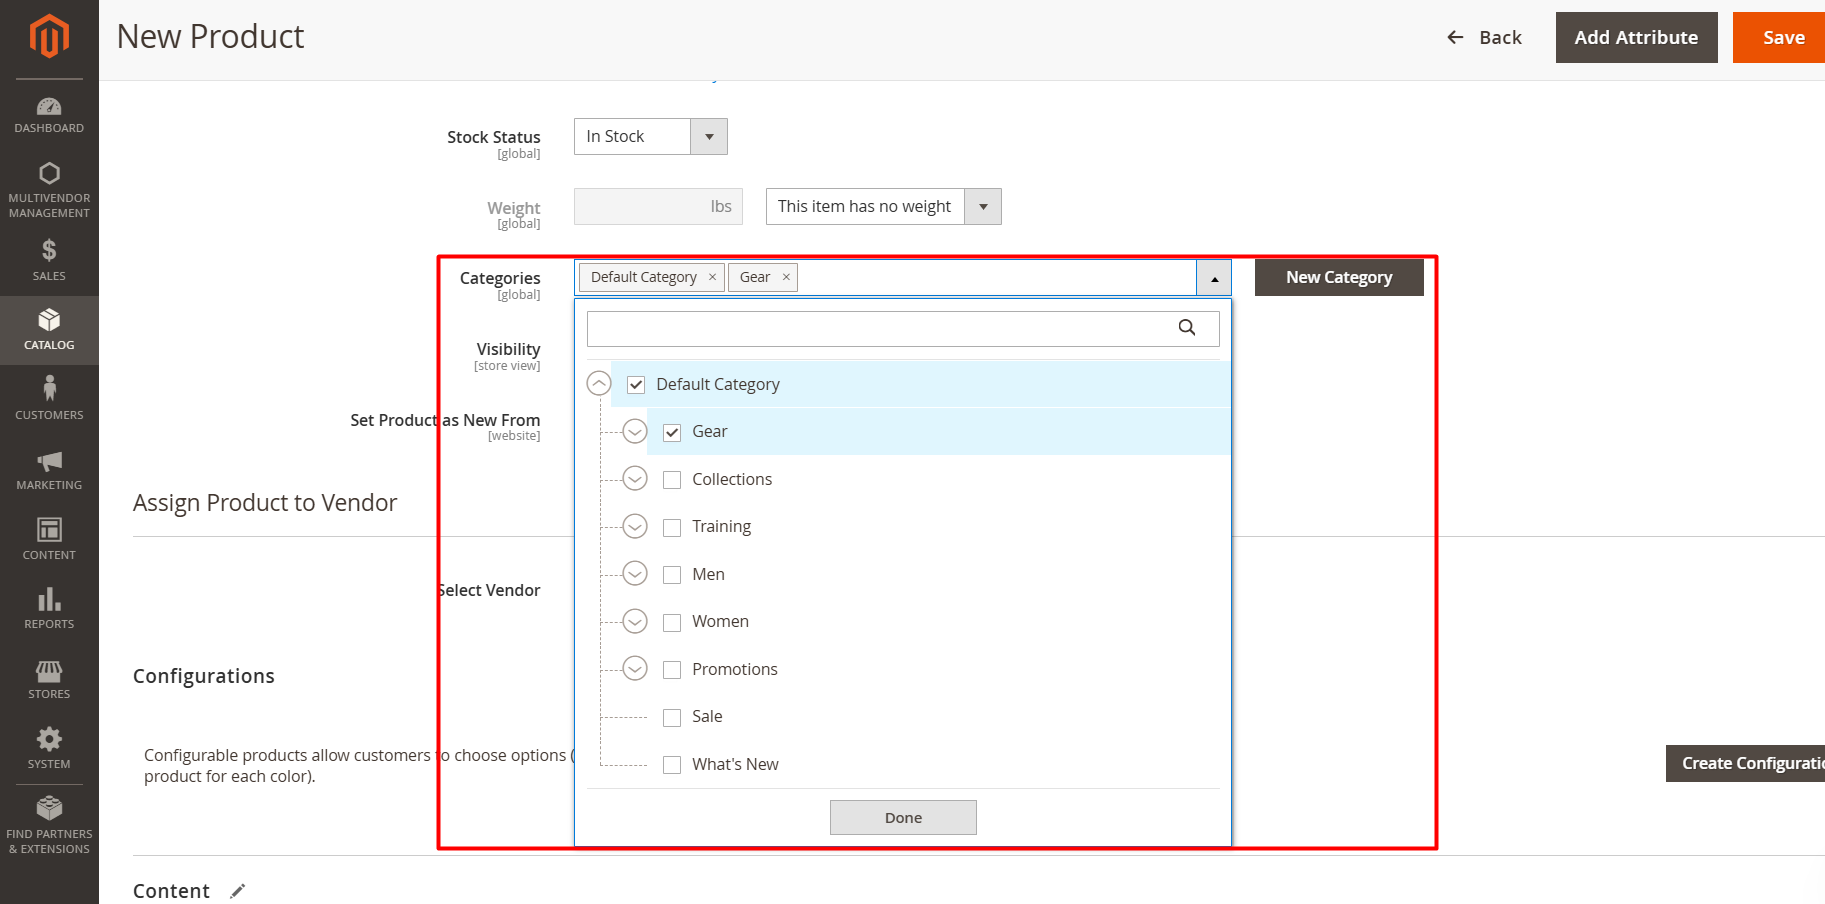
Assign the Virtual Product to one or more categories for better visibility:
- Under the Categories section, select the appropriate category (e.g., "Services" or "Memberships").
- You can create a new category if needed.
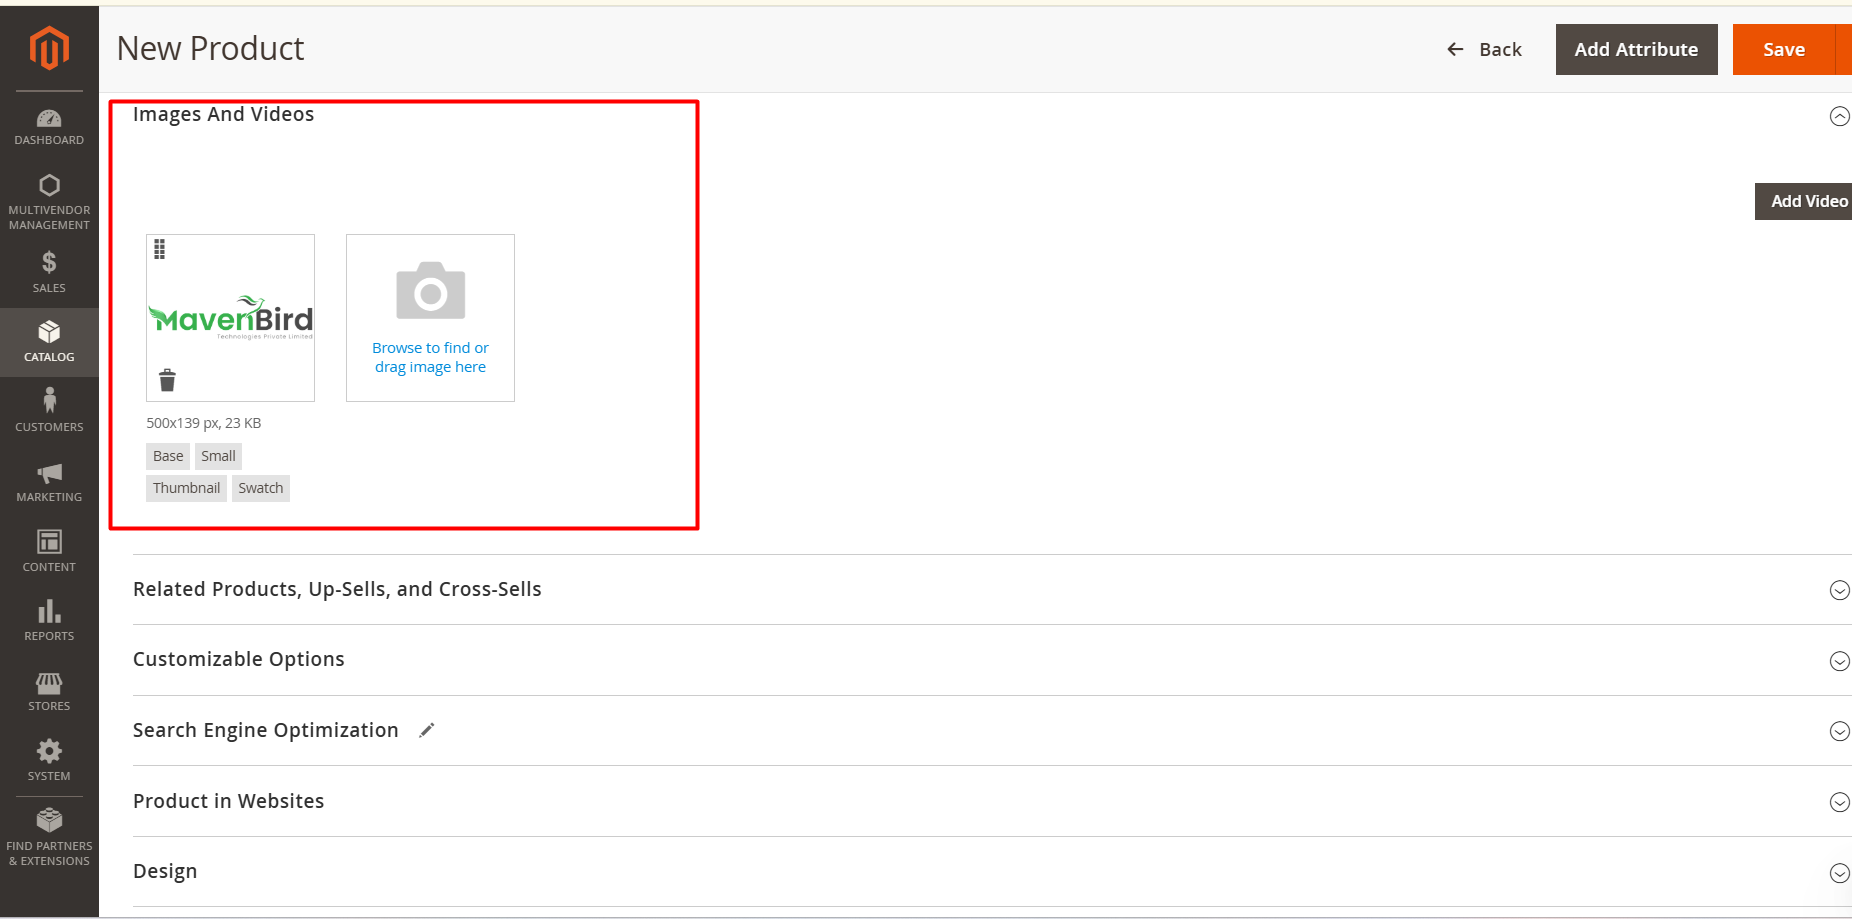
Step 6: Add Product Images
Even though Virtual Products are intangible, adding an image can make the product page more appealing:
- Click Add Images in the Images and Videos section.
- Upload an image that represents the product, such as an icon or a graphic related to the service.
Step 7: Configure Search Engine Optimization (SEO)
Optimize the product for search engines:
- Meta Title: Enter a concise and descriptive title for the product.
- Meta Keywords: Add relevant keywords.
- Meta Description: Write a short summary to appear in search results.
Step 8: Save the Virtual Product
Once all details are filled in:
- Click Save in the top-right corner of the product page.
- Flush the Magento cache if necessary to reflect the changes on the frontend.
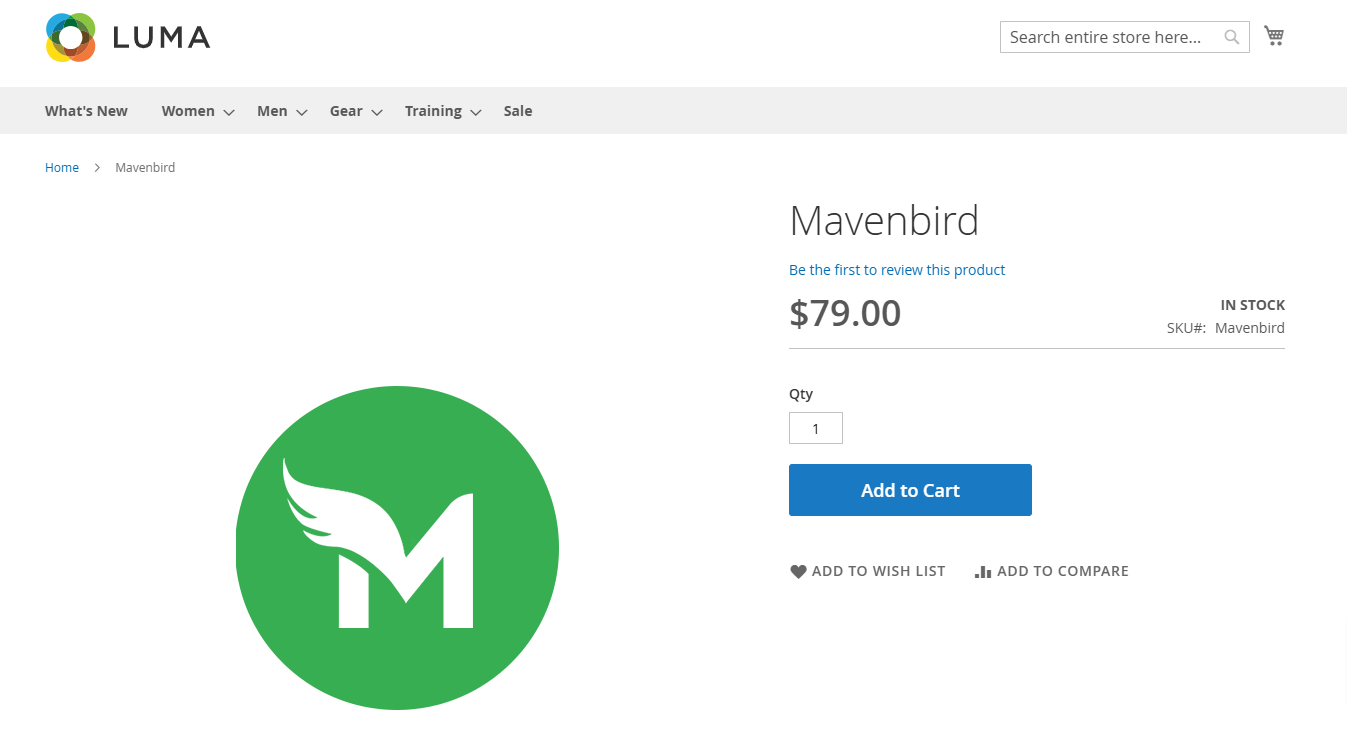
Step 9: Verify the Virtual Product on the Frontend
Visit the product page on your store to ensure everything is displayed correctly:
- Check the product name, description, price, and image.
- Ensure there are no shipping options available during checkout.
Conclusion
Creating Virtual Products in Magento 2 is straightforward and ideal for selling services, subscriptions, or digital goods. Follow this guide to set up Virtual Products effectively and enhance your store's offerings.