How to create a simple Hello World module for Magento 2
Creating a "Hello World" module in Magento 2 is a great way to get started with module development. In this guide, we will walk you through the process of creating a basic module that displays "Hello World" on the front-end of your Magento store.
Step 1: Create the Module Directory Structure
First, we need to create the necessary directories for the module. Inside your Magento 2 installation, navigate to the app/code directory and create the following folder structure:
app/code/Mavenbird/HelloWorld
This will be the base directory for your module. Now, let's add the basic files to register the module.
Step 2: Create the registration.php File
The registration.php file registers the module with Magento. Create this file in app/code/Mavenbird/HelloWorld and add the following code:
        <?php
        \Magento\Framework\Component\ComponentRegistrar::register(
            \Magento\Framework\Component\ComponentRegistrar::MODULE,
            'Mavenbird_HelloWorld',
            __DIR__
        );
This code tells Magento to register the module with the name Mavenbird_HelloWorld.
Step 3: Create the module.xml File
Next, create a file called module.xml inside the app/code/Mavenbird/HelloWorld/etc directory. This file defines the module configuration:
        <?xml version="1.0"?>
        <config xmlns:xsi="http://www.w3.org/2001/XMLSchema-instance" xsi:noNamespaceSchemaLocation="urn:magento:framework:Module/etc/module.xsd">
            <module name="Mavenbird_HelloWorld" setup_version="1.0.0" />
This file tells Magento about your module, its name, and its version.
Step 4: Create the Controller
Now, let's create a simple controller to display "Hello World" on the front-end. First, create the Index.php file in the app/code/Mavenbird/HelloWorld/Controller/Index directory:
        <?php
        namespace Mavenbird\HelloWorld\Controller\Index;

        use Magento\Framework\App\Action\Action;
        use Magento\Framework\App\Action\Context;

        class Index extends Action
        {
            // This method is called when the controller is accessed
            public function execute()
            {
                // Output "Hello World" message
                echo "Hello World from Mavenbird!";
            }
        }
The Index controller will handle the default action of your module. When users visit the appropriate URL, it will display "Hello World from Mavenbird!".
Step 5: Enable the Module
After creating the necessary files, we need to enable the module in Magento. Open the terminal/command line and run the following commands:
        php bin/magento module:enable Mavenbird_HelloWorld
        php bin/magento setup:upgrade
        php bin/magento cache:flush
These commands enable the module, upgrade the Magento setup, and clear the cache to make the module available on your site.
Step 6: Verify the Module
Once the module is enabled, you can verify it by visiting the following URL in your browser:
http://your-magento-site.com/helloworld/index/index
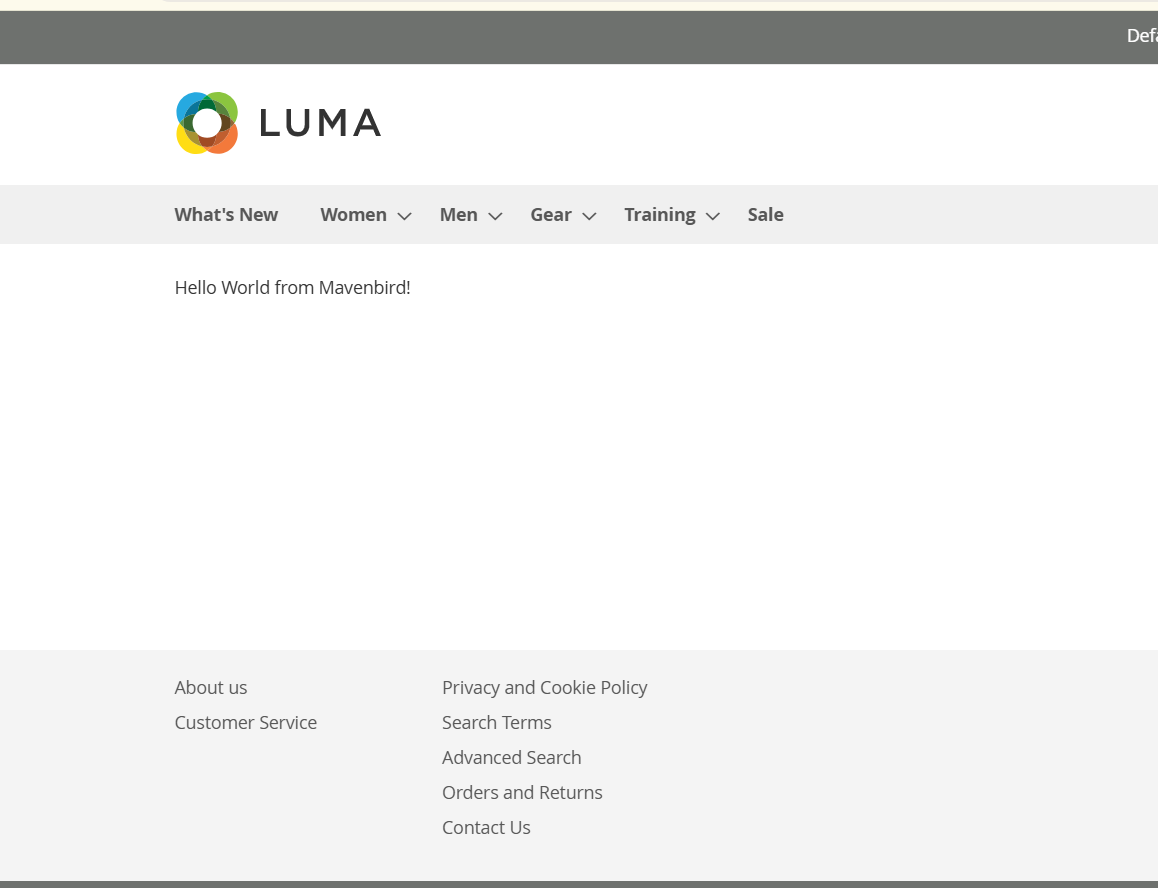
You should see the message: "Hello World from Mavenbird!" displayed on the page.

Conclusion
Congratulations! You have successfully created a simple "Hello World" module for Magento 2. This is a basic example, but it lays the foundation for building more complex Magento modules. At Mavenbird, we strive to make Magento development easy to understand and implement. With this simple module, you can start exploring the world of Magento development and begin customizing your store as needed. Happy coding!


Please complete your information below to login.